How to Sample at Home
For accessible materials in good condition, you may be able to collect a sample yourself and send it to us for laboratory analysis. Follow this guide carefully and prioritize safety above all else.
Equipment You Will Need
P100 Respirator
A proper half-face respirator with P100 (purple) filter cartridges. A dust mask or surgical mask is NOT sufficient for asbestos — fibres pass right through.
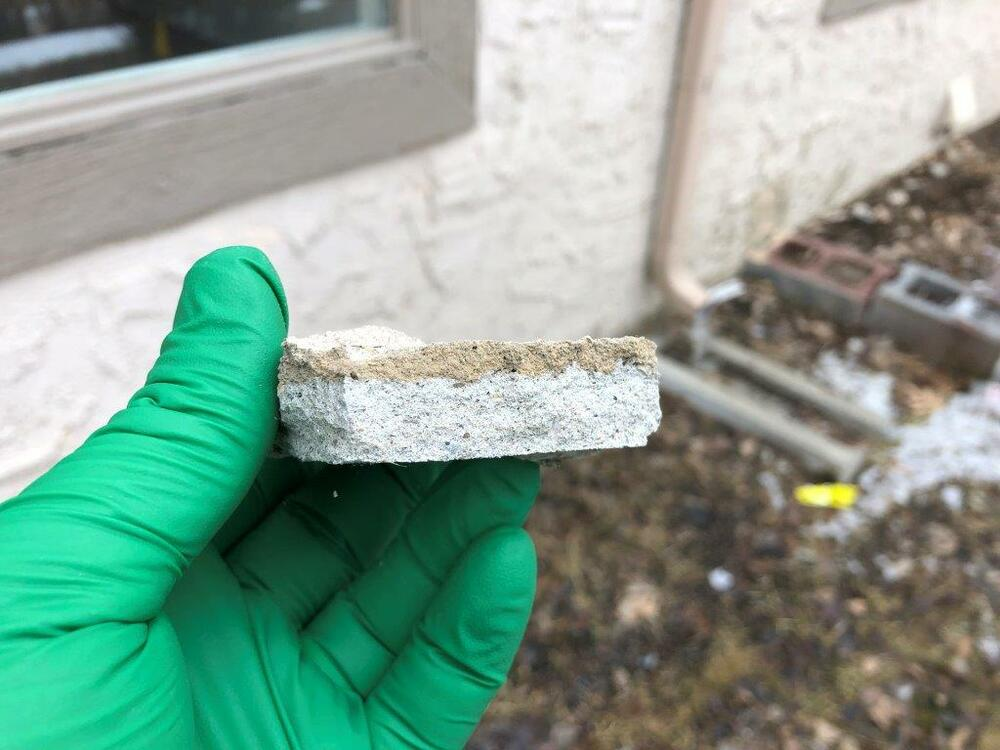
Disposable Gloves
Nitrile or rubber disposable gloves. Avoid latex if you have sensitivities. Double-gloving is recommended for extra protection.
Sealable Plastic Bags
At least 2 heavy-duty zip-lock bags per sample — one to seal the sample, and one to seal the first bag inside for double containment.
Spray Bottle with Water
Fill with clean water. Misting the material before and during sampling reduces the amount of dust and fibres released into the air.
Sharp Cutting Tool
A sharp utility knife, stiff putty knife, or small chisel. A sharp tool minimizes friction and dust — dull tools require more force and create more debris.
Permanent Marker & Tape
To label each sample bag clearly with the location, date, and material type. Proper labeling is required for chain of custody processing.
The Sampling Procedure
Prepare the Area
Clear and remove any furniture, items, or obstacles from the immediate area. Close all windows, doors, and HVAC vents in the room to prevent airborne fibres from spreading. Lay down a sheet of plastic sheeting or a plastic bag below the sampling area to catch any fallen debris.
Put On Your PPE
Before touching anything, put on your P100 respirator and ensure it fits tightly (perform a seal check — cover the exhalation valve and breathe out; no air should escape the edges). Put on your disposable gloves last, after the respirator is secured.
Wet the Material
Using your spray bottle, lightly mist the area you intend to sample. Do not soak it — just dampen the surface. This wets any fibres and binds dust to the material, dramatically reducing the amount that becomes airborne during sampling.
Take the Sample
Using your cutting tool, carefully cut or scrape a small sample from the material — approximately a 1cm × 1cm piece or a heaped teaspoon of material. Sample all layers if multiple layers are present (e.g., tile plus adhesive). Mist again if dust becomes visible. Keep your face away from the cutting area.
Seal the Sample Immediately
Drop the sample directly into the first zip-lock bag and seal it immediately. Do not set it down or carry it around. Once sealed, place that bag inside the second zip-lock bag and seal that too. Double containment prevents any fibres from escaping during transport.
Label the Sample
Using a permanent marker on the outside of the outer bag, write the following: sample location (e.g., "Kitchen floor tile"), date collected, and material description. If sending multiple samples, number each bag (Sample 1, Sample 2, etc.). Accurate labeling is required for chain of custody.
Complete the Chain of Custody Form (PDF) at this stage — one form per sample submission.
Seal the Sampling Area
Apply a piece of tape or a dab of paint over the spot where the sample was taken. This seals the area and prevents any remaining fibres from becoming airborne. Do not leave a bare hole in suspect material.
Clean Up and Remove PPE
Carefully fold the plastic sheeting inward (dirty side in) and seal it in a garbage bag — do not shake it. Remove your gloves by pulling them inside-out, then place them in the garbage bag. Remove your respirator last. Wash your hands thoroughly with soap and water.
Submit Your Sample
Include your completed Chain of Custody Form with every sample. Then contact us at info@guardlab.ca or use our contact page to arrange drop-off or mail-in. We'll confirm receipt, process your sample in our certified laboratory, and deliver your written results report based on your chosen turnaround time.
When to Call a Professional Instead
DIY sampling is appropriate only in limited circumstances. Always choose professional inspection when any of the following apply.
Do NOT Sample Yourself If…
- The material is damaged, crumbling, or deteriorating
- The material is in an attic, crawlspace, or confined space
- You need to disturb a large area to access the material
- You do not have a proper P100 respirator (not a dust mask)
- Other people (especially children) live in the home and cannot be completely excluded
- The material is on a heating system or boiler
- Your insurance or permit requires certified documentation
When in Doubt — Book a Professional
Our Level S certified surveyors carry all required PPE and follow strict WorkSafe BC protocols. A professional inspection means you have a certified, legally defensible report that protects you — whether you're a homeowner, contractor, or property manager.
Professional inspection also covers hard-to-reach areas and gives you peace of mind that nothing was missed.
Book a Professional InspectionQuestions About Your Sample?
Contact us — we're happy to walk you through the process, verify your technique, or arrange a professional inspection if your situation calls for it.